Telnet client on windows is one utility that enabled telnet protocol. This utility has been used to check TCP bidirectional connections between TCP servers. We generally use it to test listening port is reachable or not from one client.
By default, it is not installed on Windows 10. You can install this very easily by following these steps.
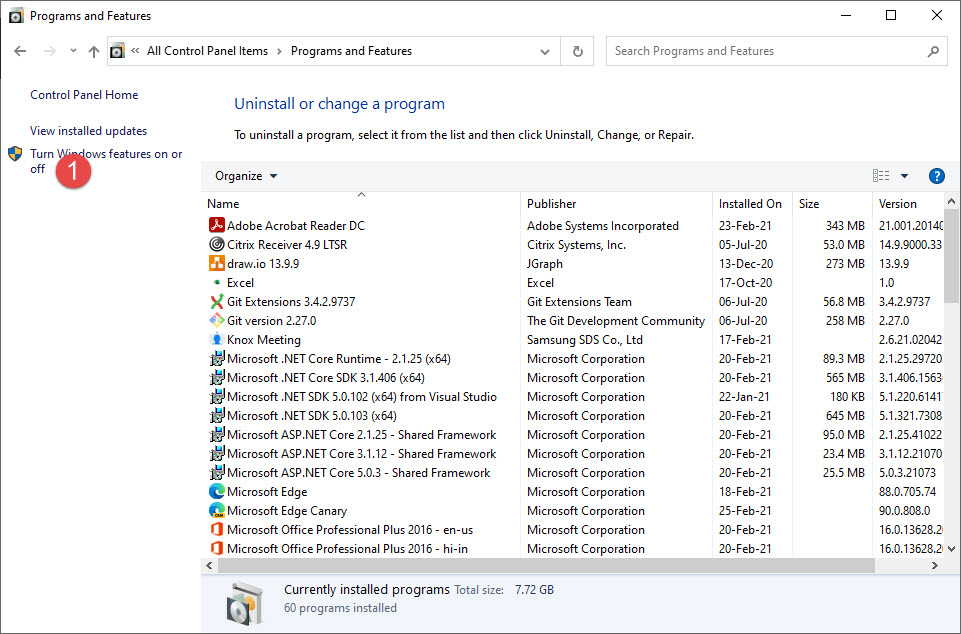
Open the control panel, and click on “Turn Windows feature on or off.

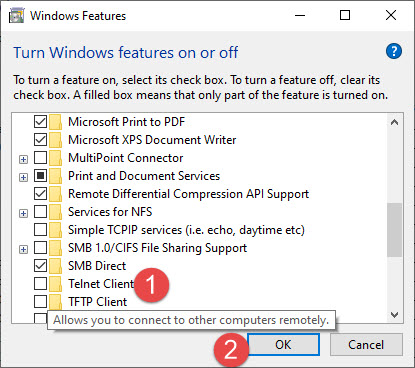
This will open another window as shown below, select Telnet client and click on OK button.


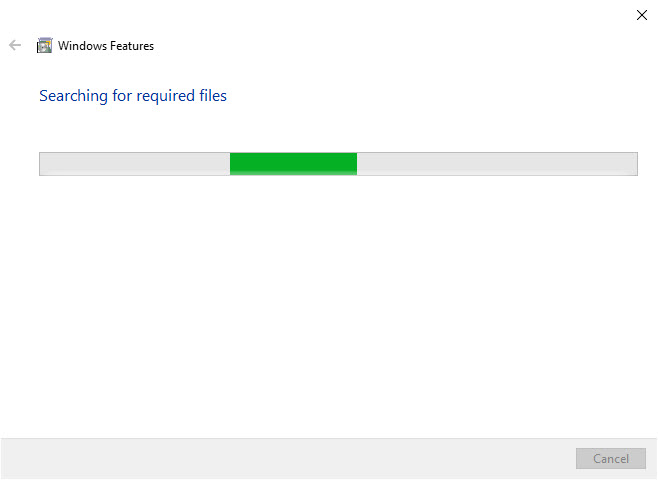
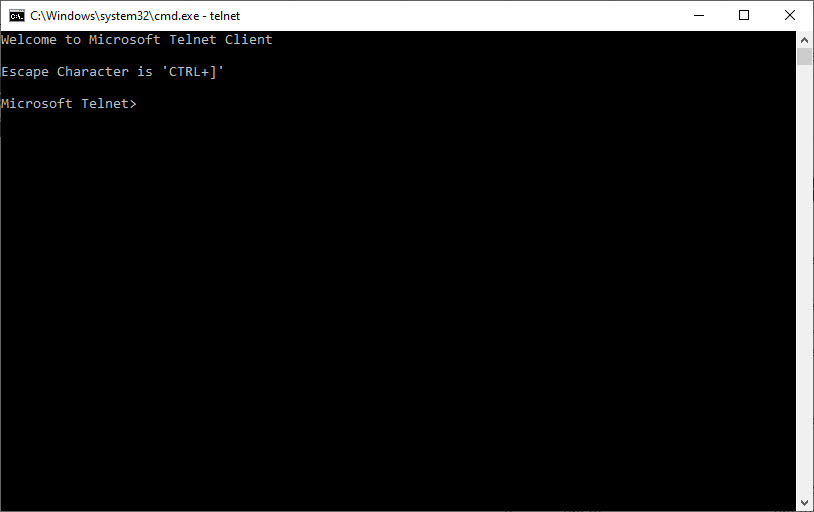
This will install the telnet client on Windows. Now open cmd and type command telnet, this will open telnet command.
Microsoft Telnet> ?/

Commands may be abbreviated. Supported commands are:

c    - close                    close current connection
d    - display                  display operating parameters
o    - open hostname [port]     connect to hostname (default port 23).
q    - quit                     exit telnet
set  - set                      set options (type 'set ?' for a list)
sen  - send                     send strings to server
st   - status                   print status information
u    - unset                    unset options (type 'unset ?' for a list)
?/h  - help                     print help information
Microsoft Telnet>
or you can directly test the connection
>telnet google.com 443
