In this post, I will write complete steps to install and configure Postgres RDS on Ubuntu 20 running on a VirtualBox over Windows 10 host.
Installing Postgres on Ubuntu 20
For easiness connect Ubuntu instance using Putty windows client. Now you can easily copy and paste commons on the putty console.
Steps to install Postgres
Update the local package index
~$ sudo apt updateNow install Postgres using the following command with some additional utilities and functionality. This will install the latest Postgres database.
~$ sudo apt install postgresql postgresql-contribAllow Remote connections to Postgres database
Configure listenning addess
~$ sudo nano /etc/postgresql/12/main/postgresql.confNow change, listen_addresses = ‘*’ or change ‘*” with IP.
By default remote connection is disabled. We need to open a remote connection using pg_hba.conf file
~$ sudo nano /etc/postgresql/12/main/pg_hba.confAnd change following
IPv4 local connections:
Add following line IPv4 local connections:
host all all 192.168.1.0/24 md5
This will allow connection from the windows host, or you can add the IP of your requirements.
Now open port for repot access
~$ sudo ufw allow 5432/tcpAfter successful installation, you can install the Postgres server using the following command either with sudo or with Postgres user.
~$ sudo pg_ctlcluster 12 main startNow you need to set a password for Postgres default user.
~$ sudo -u postgres psql
This will open PG client console now you can change password using sql.
ALTER USER postgres PASSWORD 'mypassword';Now you can connect Postgres from other instances or windows host.
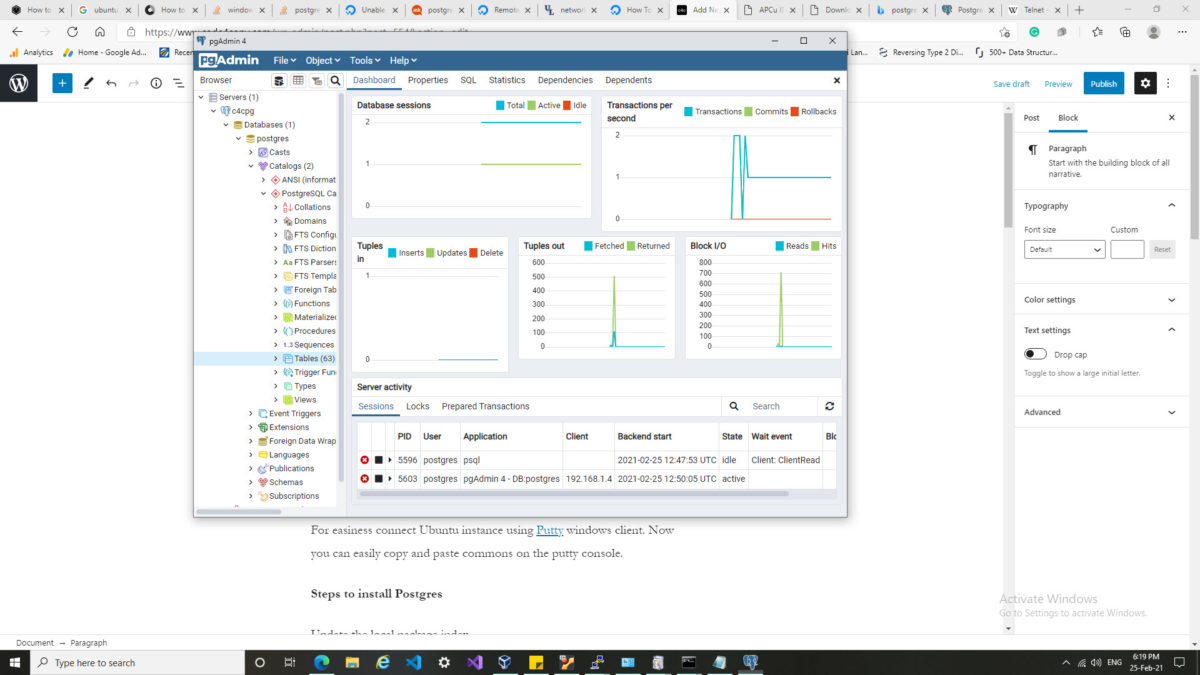
Open PGAdmin windows tool to check the connection of the database. Using this GUI management tool you can do almost everything.
Please refer to Postgres documentation for more details.

